
Whilst Chromebooks are great as the majority of people’s casual usage machines, sometimes you might need to do work that needs a proper desktop program. One example of this is Visual Studio, and I decided to see if I could find a way to use this on my Chromebook. Obviously, you can’t just install it, so I wanted to find an easy solution that gave me good performance as well. Remoting into a PC running Visual Studio seemed to be the most obvious solution, and I’ve detailed my process here.
If you have a Windows PC that you leave on all the time and is always connected to the internet, then you can simply use the Chrome Remote Desktop extension available on the Chrome Web Store. The setup and usage of this is pretty straightforward, so I won’t go into it here.
However, what if you don’t have a PC on all the time, or you don’t have a computer powerful enough to run beefy apps like Visual Studio? In this case, you can use Windows Azure to create a virtual machine, run your Windows applications in that and then use Chrome Remote Desktop to connect to it from your Chromebook. Performance is acceptable on a fast internet connection, and whilst it’s not as good as local performance, most of the time you wouldn’t notice. So how would you go about doing this?
Windows Azure
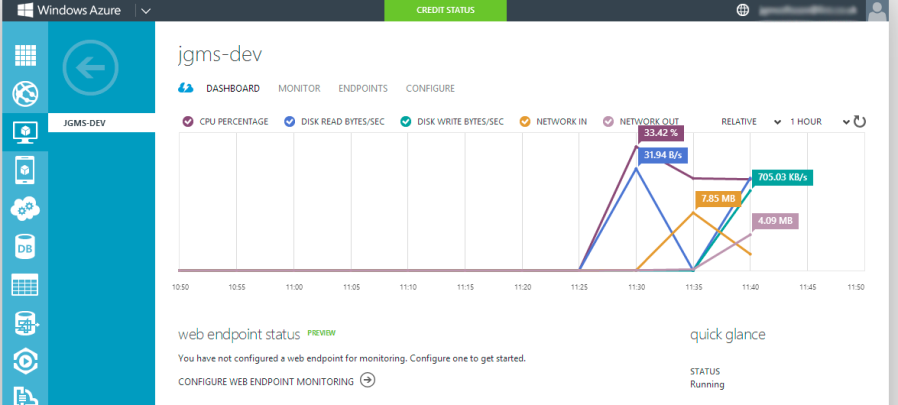
Windows Azure is Microsoft’s cloud platform, and you can use it to host websites, virtual servers, or help to easily build a back end for your mobile apps. It’s a very flexible platform and it’s also pretty inexpensive considering the power you have available. For running our apps, we’ll want to create a Virtual Machine running a version of Windows Server (unless you have specific requirements, opt for 2012 R2).
Next, you’ll need to pick the spec of your machine. Azure offers various tiers, with the price increasing substantially as performance improves. Note that Azure charges you for usage hours, so by turning off your VM when you’re not actively using it, you’ll save a significant amount of money. The beauty of having someone else host your machines though is that if you want to leave it on all the time, you can, but expect to pay for it. Pick your tier based on what you think you can get by on for your application, and you can always upgrade at any point later if it gets too slow. All it takes is a reboot and you’ve upgraded!
For me, the most intensive thing I was going to be running was Visual Studio for some light development work, so I opted for the Medium(A2) build, with 2 cores and 3.5GB of RAM. If you have more money than you know what to do with, you can up that to a hefty 8 cores and 56GB of memory.
It’s worth noting that if you have an MSDN subscription or one of the Visual Studio versions that comes with a subscription, you get some credit to spend on Azure, so you might even be able to manage all this for free.
Building your VM
Rather than repeating the excellent instructions on the Azure website, I’ll give some pointers here on things to look out for when building your VM. Firstly, you’ll want to have a read through of the instructions Microsoft provides here.
If you have an MSDN or Visual Studio with MSDN subscription, pick one of the Visual Studio builds from the Image Gallery to save you downloading and installing Visual Studio afterwards. Otherwise, pick the Windows Server 2012 R2 image and follow through the build.
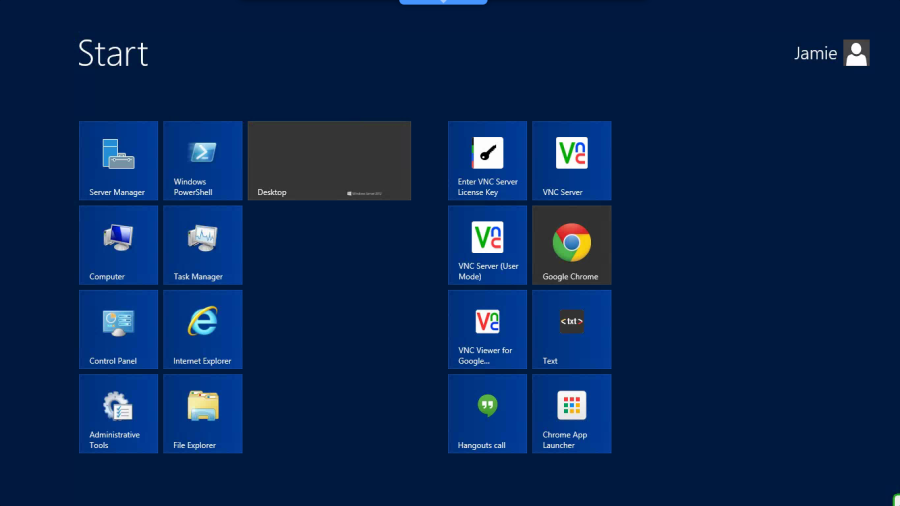
When that’s done, you’ll want to follow the steps in the second part of the build instructions: How to log on to the virtual machine after you create it. Once you’ve logged in, you’ll want to open Internet Explorer and use that to download Chrome in the usual way. I’m using Chrome because from my tests, the Chrome Remote Desktop offers much better performance and crisper graphics on a Chromebook than any VNC solution. It’s also much easier to set up.
Setting up and Connecting
In order to access your VM from the Chromebook, you’ll need to sign into Chrome using the same account on both the Chromebook and the virtual machine. Next, install the Chrome Remote Desktop extension on both and follow its instructions too.
Finally, you should be able to see your new VM in the “My Computers” section of Chrome Remote Desktop on your Chromebook.
Usage
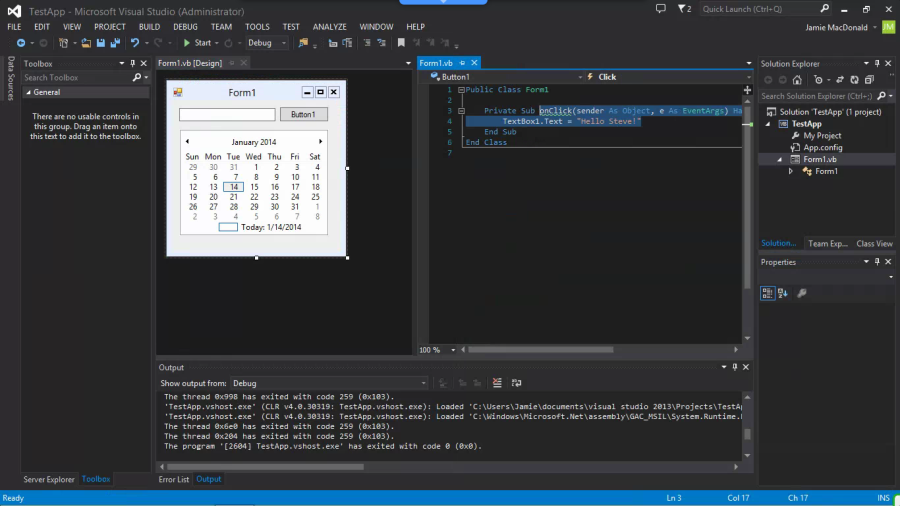
I’ve been using this to allow me to develop using Visual Studio on the Chromebook. As long as you have a relatively decent internet connection, it’s far, far more powerful than any of the Cloud IDEs on the market at the moment, and allows you to do fairly heavy duty development from a Chromebook. Of course, there’s nothing to stop you running Eclipse or NetBeans and deploying Java applications, or any other application that you can think of. There are moments when it can be sluggish, but as long as you can be patient whilst things load, it’s usually alright.
Why bother with all this when you could just buy a cheap Windows laptop you ask? Well, you might only need desktop apps for a small portion of your daily work, or you might want the fantastic battery life that a Chromebook gives you. At any rate, this is a simple, and also cheap way to run all your applications from your Chromebook.

You must be logged in to post a comment.